-
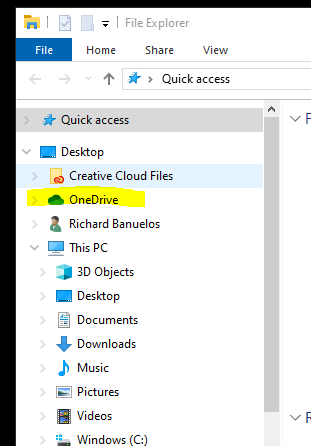
Click on the “File Explorer” icon in your taskbar.
![](https://lh7-rt.googleusercontent.com/docsz/AD_4nXcXCGBGWkY2T7XrK5tya1ErsDrd4acvWhIlhfrnlr18cfGi3WCCzfrMSu3YgnxMnugwRsknujDVrYyY6dbLyGwvl3Tot0DnJdTPoKjJNpe-qC4jg467tuY3wutM6L3_9RpdpolS3SMH8h2CmhhO_tcnHDWy?key=ipb-59MPd3pr4LYZ8DIp2Q)
-
Select the “OneDrive” folder on the left-hand side.
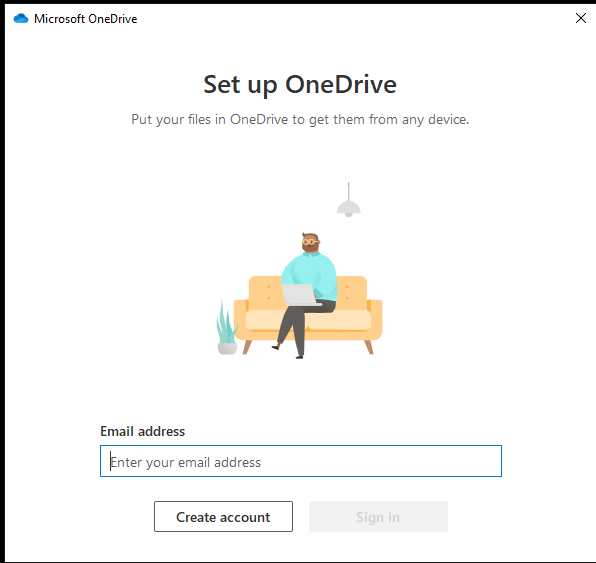
![](https://lh7-rt.googleusercontent.com/docsz/AD_4nXexRfmUJy2ETWb48mxMUA139yBRlW9BmrLNu5WXM_ZDgJz9eWdMKJvKAn2xDzpyBeqYRfrE21WdCo1yZ7zcp9N1UlKy4ua20Sd9l0CHzXsie9wd2AgF0epZHqxsqrX4skqS1eWDkD-8BcS8Mc_-WGFi7Ngm?key=ipb-59MPd3pr4LYZ8DIp2Q)
-
Enter your full Cabrillo.edu email address and click “Sign in”.
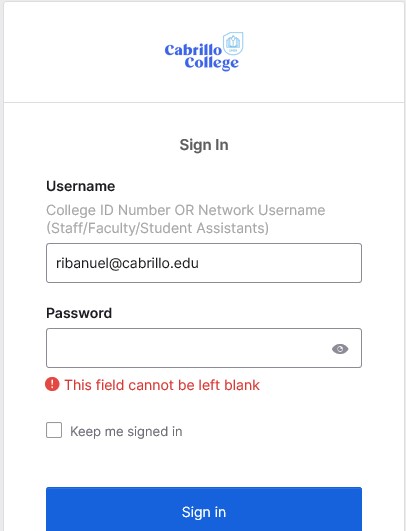
![](https://lh7-rt.googleusercontent.com/docsz/AD_4nXemGYbLVAFbBG3UV-fupec1mvFIjvIu1f_arF_ZRjJOhQbgCyZ0uCfstHLt0V9U8UnNFGLIQQ6Rl5EyWzCC-pi0qeHBrYCDNyilvKOHE_gFFmHDH0u5cT0B-_aD6rqEGd2IlxxV_6feqfa_UFKR0At3rjhN?key=ipb-59MPd3pr4LYZ8DIp2Q)
-
Complete the verification process with Okta.
![](https://lh7-rt.googleusercontent.com/docsz/AD_4nXc92JWLMtLKcHuIvNvFwbR_Ti1exKPwglP3XR47sBbfTb4X9MgQi8SNk5TiJI1cahCkEHq7-3v_y2eXC7qxGZhcisf4s3fFJGvt9YbvTIRc3UNoLVXqlofsXfj0F3aGV33Ei3M_SFYAmX1-Ph_Hu5j9M9ah?key=ipb-59MPd3pr4LYZ8DIp2Q)
-
When prompted with a “More information required” pop-up, select “Next.”
![](https://lh7-rt.googleusercontent.com/docsz/AD_4nXcxu9oimwFtmSAmwpCrsco8mZ-aWzHYr6vbzCZ6B4TcEQxJ_vfYEjNC09GUBwMesOJt8-wvcpni_vW_yjUb-6MTQOs7h0GRuiXIghf7pJUf0hCXsKMzkGDrzppLaTBxPVOw5D6XWyUMM9UoOv47Cpv-Yerf?key=ipb-59MPd3pr4LYZ8DIp2Q)
-
In the “Start by getting the App” section, choose “I want to use a different Authenticator app.”![](https://lh7-rt.googleusercontent.com/docsz/AD_4nXc_BcdaNb1rPCT4rdo0NRqLPo_1Zdi1sd9aExIB2pLCi_hiu7zQF69oS7D98jTGXof9ajeGJON_frzU1O07b2TLfAHWBpGl06K4PSIola6MmLLzJhf_tveJAzilvBzx9wgTuj8_gtLxQusqAjpww0EMMUln?key=ipb-59MPd3pr4LYZ8DIp2Q)
-
Click “Next” on the “Set up your Account” window.
![](https://lh7-rt.googleusercontent.com/docsz/AD_4nXe9RzCFK0Bsl5cHR0rmeWNA4Q2Zi8uhdUMccJbHlYCbMDYNhwqLQigao3Cat3AfWXkC4ZXXrtFuleF7jnznkO57gmbG1nPWurGSTQIScp5-eI-0_VqrkXAWsUTToa1PbdpR7uQT0uzGVOBM4wYp6WZRCPY4?key=ipb-59MPd3pr4LYZ8DIp2Q)
-
Open your authenticator app on your phone. Note: Okta Verify was used for this demonstration.
-
Click on the “+” sign in the top right corner of the app.
![](https://lh7-rt.googleusercontent.com/docsz/AD_4nXdhlVgONAXuAeaTflrdHLtGjNb3UZeZvGQ-s5l1ZlCgkNUo9fzN97JV6ptRgX7y14lkxhulAjaSzkHX2x80dSAwtRAWoPr6CDztRroJi0PLUQSKbvQn2Y9CXemfpAHPXgm78Vbstp-s_0snSUq63RKLbhW0?key=ipb-59MPd3pr4LYZ8DIp2Q)
-
Select “Organization” as the account type.
![](https://lh7-rt.googleusercontent.com/docsz/AD_4nXf2Dz9KSqdQMo6Bx4-ykfZOlkwgGumA8WdxBnVjnzTwA7-4P_X_DDpcJlOMN6u484j9YS1jGn6QZi2TJWbz2iDjggdUMw6EEWhzToplhZ54gDLtZGRODxchsc-vAfLwZuhc0rILdG86wMet-XsRXvKOnU3x?key=ipb-59MPd3pr4LYZ8DIp2Q)
-
Skip adding an account from another device.
![](https://lh7-rt.googleusercontent.com/docsz/AD_4nXfPlRfD8DQm8ZKEhbzB1H9QLrYRT7sIHgz6ifUjQkjD3iqpBU8jn2LupCt-HNAstz-xWf96vavGIsJiAhoKzx98hvgpL8s3H97ncLiT8TKS6LRf1oMEIuTloEuWxsNW2V6S9qxljDPpIPsUln_bzYFpyIU?key=ipb-59MPd3pr4LYZ8DIp2Q)
-
When prompted, choose “Scan QR Code.”
![](https://lh7-rt.googleusercontent.com/docsz/AD_4nXdmbpJR5K8hx_JBnZI8c_l3yZXwo4y71YsQ1NCI6Fac1ilEsfnRWsxgIA7HbapuXjtaU2Zu4sLtgD_P5FuWEja3vpd7wRlkMS1RM6xPWAPSRFch4bFkoJxv1GQ8cfPuW3_-EGw5pRjleANTTWbfcCjnJkNN?key=ipb-59MPd3pr4LYZ8DIp2Q)
-
Back on the Windows message, click “Next” and enter the 6-digit code from the authenticator app.![](https://lh7-rt.googleusercontent.com/docsz/AD_4nXcHagA8m8_kH2bpb0gSK4Z0WlKq-RF7UqGqzdvOicCFs2sFscBwLrlNzZaXpABeahCtebuETWosatMV89IZUhiuOaFK1dqzsJeHzj1Yz_EnGsqE8EWlEnFMdRkNSqGAtXJRfbLdTcmB-tZLjbj0WPNP0ZcL?key=ipb-59MPd3pr4LYZ8DIp2Q)
-
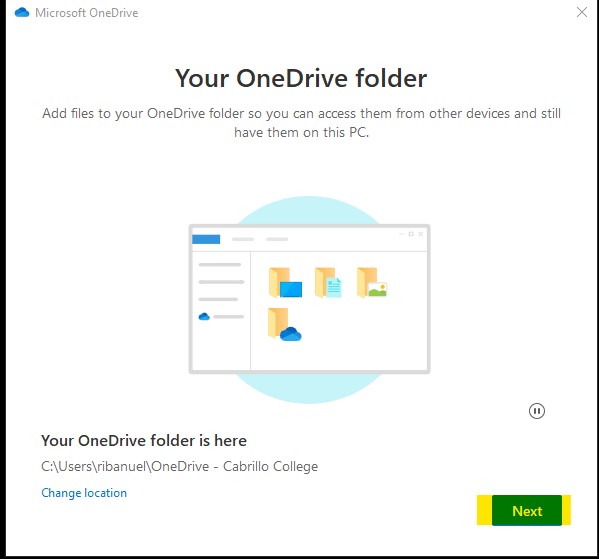
From the “Your OneDrive Folder” screen, click “Next.”
![](https://lh7-rt.googleusercontent.com/docsz/AD_4nXeypdXpLX_sw4af5YWk1ey9yMmLcVmg0a2g9u4Ay4ZrYOb4fwNdh6D-dGlpvSAFGx75aKTEGgIUtQYIDX5z5aO19vhikvArAI0GdHyPEVwPTGfx2u0xeKANMmA8Fp1JhKjhqvnJZJ3DE01smcOEMuzs59Fx?key=ipb-59MPd3pr4LYZ8DIp2Q)
-
Click “Next” on the “Get to Know Your OneDrive” page.
![](https://lh7-rt.googleusercontent.com/docsz/AD_4nXfYlFAyjRJwV4kHpbDK98FCwDk5exvgUFDFljh-ztqtnoMSxOo0-sIQm631SfTZs51dT8ON-Vr4UEdJ_696xsITDY6_K2z0gWc0ZMXcx6ycLHLV_163n89O907QE8pxSgsKnzNFpjMo2eZSwmG9DR_FGZA?key=ipb-59MPd3pr4LYZ8DIp2Q)
-
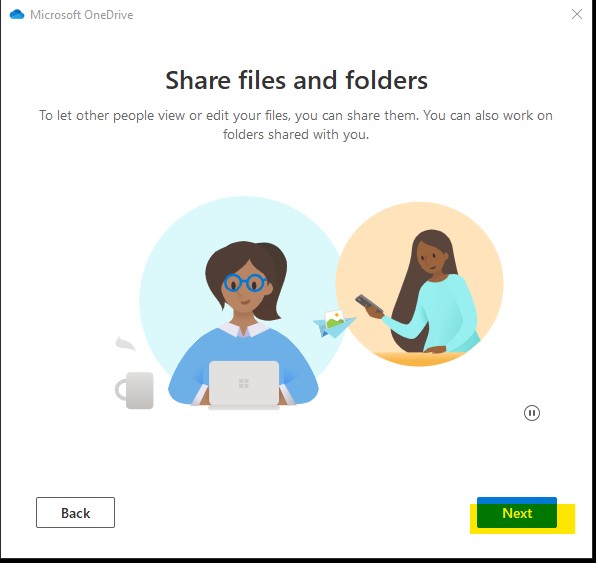
Click “Next” on the “Share Files and Folders” page.
![](https://lh7-rt.googleusercontent.com/docsz/AD_4nXeUiPvUeTPS8KvUHMwtWQcnFBuSCKhBdK17qtdxE4uury-oac5OjuQClnIJ7s4EeJ9PFgJIvJp_2HoMRokOlsJ2N2xcm6yrD0vAw306Ny9unuuhAkEzEd-Fcu3AmACaOa8_yg4zHrI_sy-KfutPiopUB1Ha?key=ipb-59MPd3pr4LYZ8DIp2Q)
-
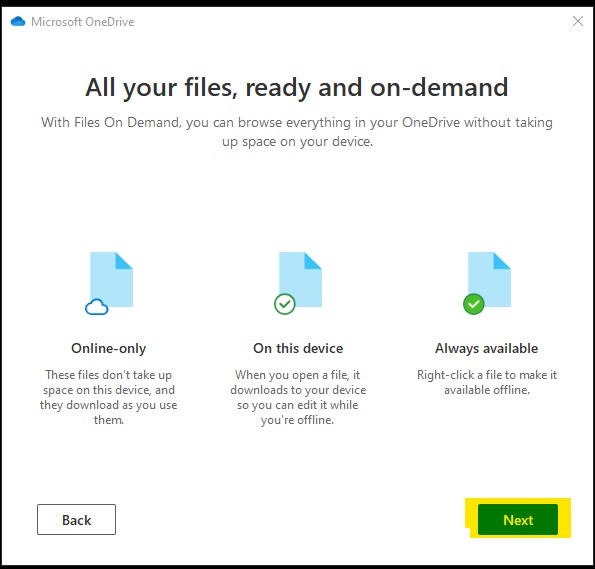
Click “Next” on the “All your files, ready and on-demand” section.
![](https://lh7-rt.googleusercontent.com/docsz/AD_4nXcBjG-PTuwsmB5m4R5CiJ3cCkxf0e6y7kHW0AK_kaye4QQdqivBuNE1XEymy86LP2ngStQldELmsbFb6WnorL8tfAmUAlENOlh50vN_vuYclWrHHKDYUdPghxI_xNVxXmYkiK7s3OU3JdLjMDMxMc8BxHng?key=ipb-59MPd3pr4LYZ8DIp2Q)
-
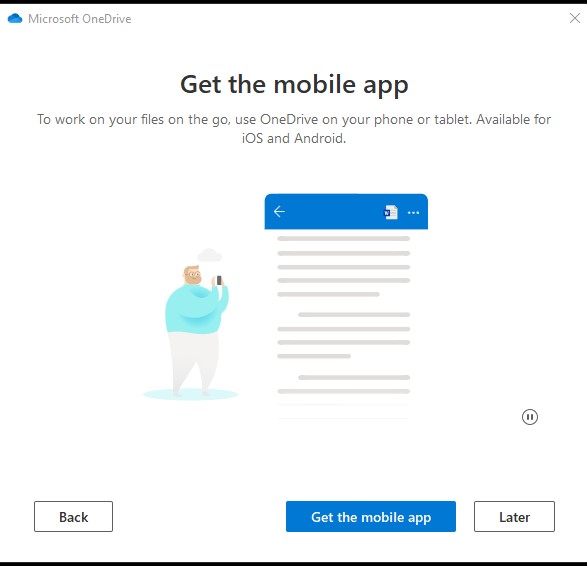
Click “Later” on the “Get the mobile app” prompt.
![](https://lh7-rt.googleusercontent.com/docsz/AD_4nXdGOhOhN17IBrwbdIcfj2g3GtEhAPwZ-qRNBBr01_X1MUqVRSD3x5mg0mIfKqJ7CsDcDplF38-gMkM8aq_y0XdwxqEecdRn3jJy1LFUUxeqAOlgL1RF_cetPIqyNsKsPXdN2H982Qk08s2QAb2uKnL7LvM?key=ipb-59MPd3pr4LYZ8DIp2Q)
-
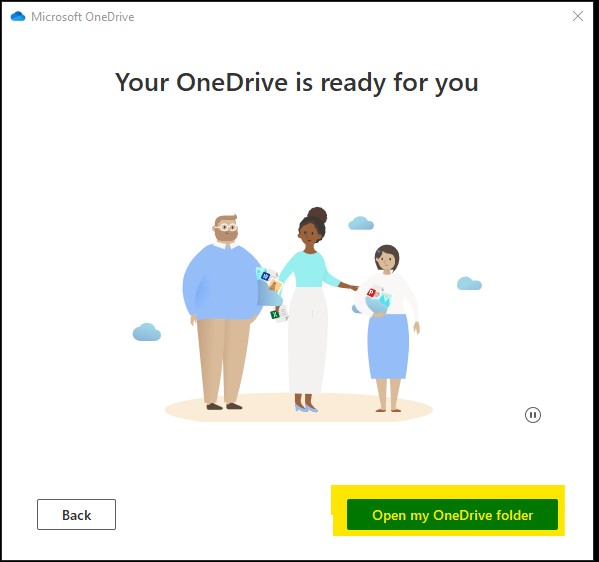
Click “Open my OneDrive folder.”
![](https://lh7-rt.googleusercontent.com/docsz/AD_4nXc4so1KRayZEUzZIg4p7qRAyyT_33xt-QCa9TOjXdl5PClOz5T3TC0dlKKVMzBENNVMBotv8vmZXW3-OT2blCknjJwUTuXsEJ-IMoNvPc1cTMqnmz3axkQudK6jLadQA00MeP1AoIA7BDiSdGYOqDbLsFo?key=ipb-59MPd3pr4LYZ8DIp2Q)
-
You may notice a refresh icon on the folders under the OneDrive folder; this is normal and will change once they have been synced to your OneDrive.
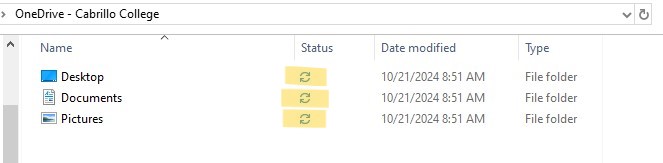
![](https://lh7-rt.googleusercontent.com/docsz/AD_4nXdfPHhPAmFznFJurAhWDPjKm3-FDTAGC5z61vfaDrEJJQQd33QA-nIDOeKpDcMNJ0Uf9oWm6Ok5NrAmRZBc7_z8WqBWWI3H2BEiqSxRx0Ke4ERAD03mCd-jvBWf2lZbdFbJF7G3ucYYetQ6j68Vyton9wpH?key=ipb-59MPd3pr4LYZ8DIp2Q)